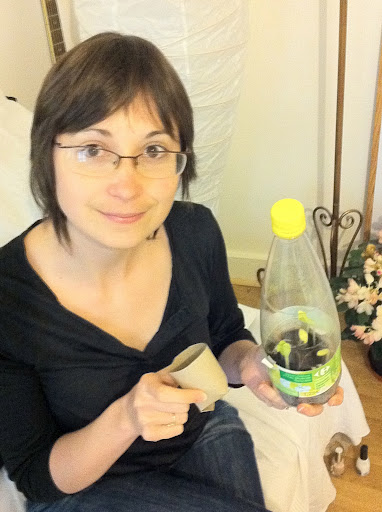
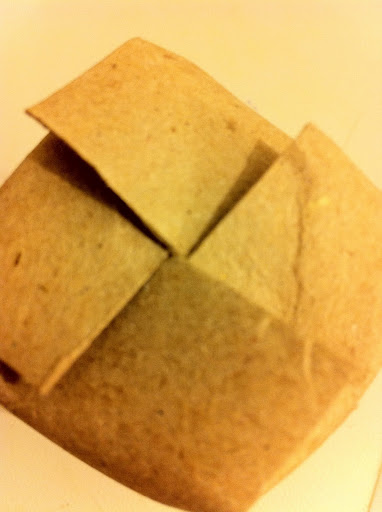
On a toilet paper roll, make four, equally spaced, vertical cuts, each ¾ inch long, up from the bottom of the tube to make four tabs. Crease each tab as you fold it down to form the bottom of the pot. Fold the bottom shut like a cardboard box. Trim the sides of the pot to the hight you like.
Fill each pot with damp potting soil, then plant your seeds or cuttings. My photo is a happy little zucchini plant soaking in the moisture and sun!
Place the pots into the bottle base. Although it’s a tight squeeze, four pots should fit snugly inside.
Water the pots, then slide the top of the greenhouse over the bottom piece. Don’t be afraid to press the bottom in creating an indent while slipping the lid in place.
Set the bottle greenhouse in a sunny windowsill and observe the humidity level over the next few days. You’ll see moisture collecting on the sides of the bottle. This is proof that your greenhouse is working. As the water evaporates it is caught and redirected to the plant! Voilà! A homemade automatic watering system!

