“The smell of good bread baking, like the sound of lightly flowing water, is indescribable in its evocation of innocence and delight.” – M. F. K. Fisher
“[Breadbaking is] one of those almost hypnotic businesses, like a dance from some ancient ceremony. It leaves you filled with one of the world’s sweetest smells… there is no chiropractic treatment, no Yoga exercise, no hour of meditation in a music-throbbing chapel, that will leave you emptier of bad thoughts than this homely ceremony of making bread.” ~M.F.K. Fisher, The Art of Eating
“My friends are constantly asking me, ‘Nancy what’s your secret? How do you stay looking so young?’ I just tell them it’s three things. Drink lots of water. Stay out of the sun. And be a good girl.” – My Grammie (oh, and that good girl comment… she means no smoking or drinking – just in case you didn’t get that 😉
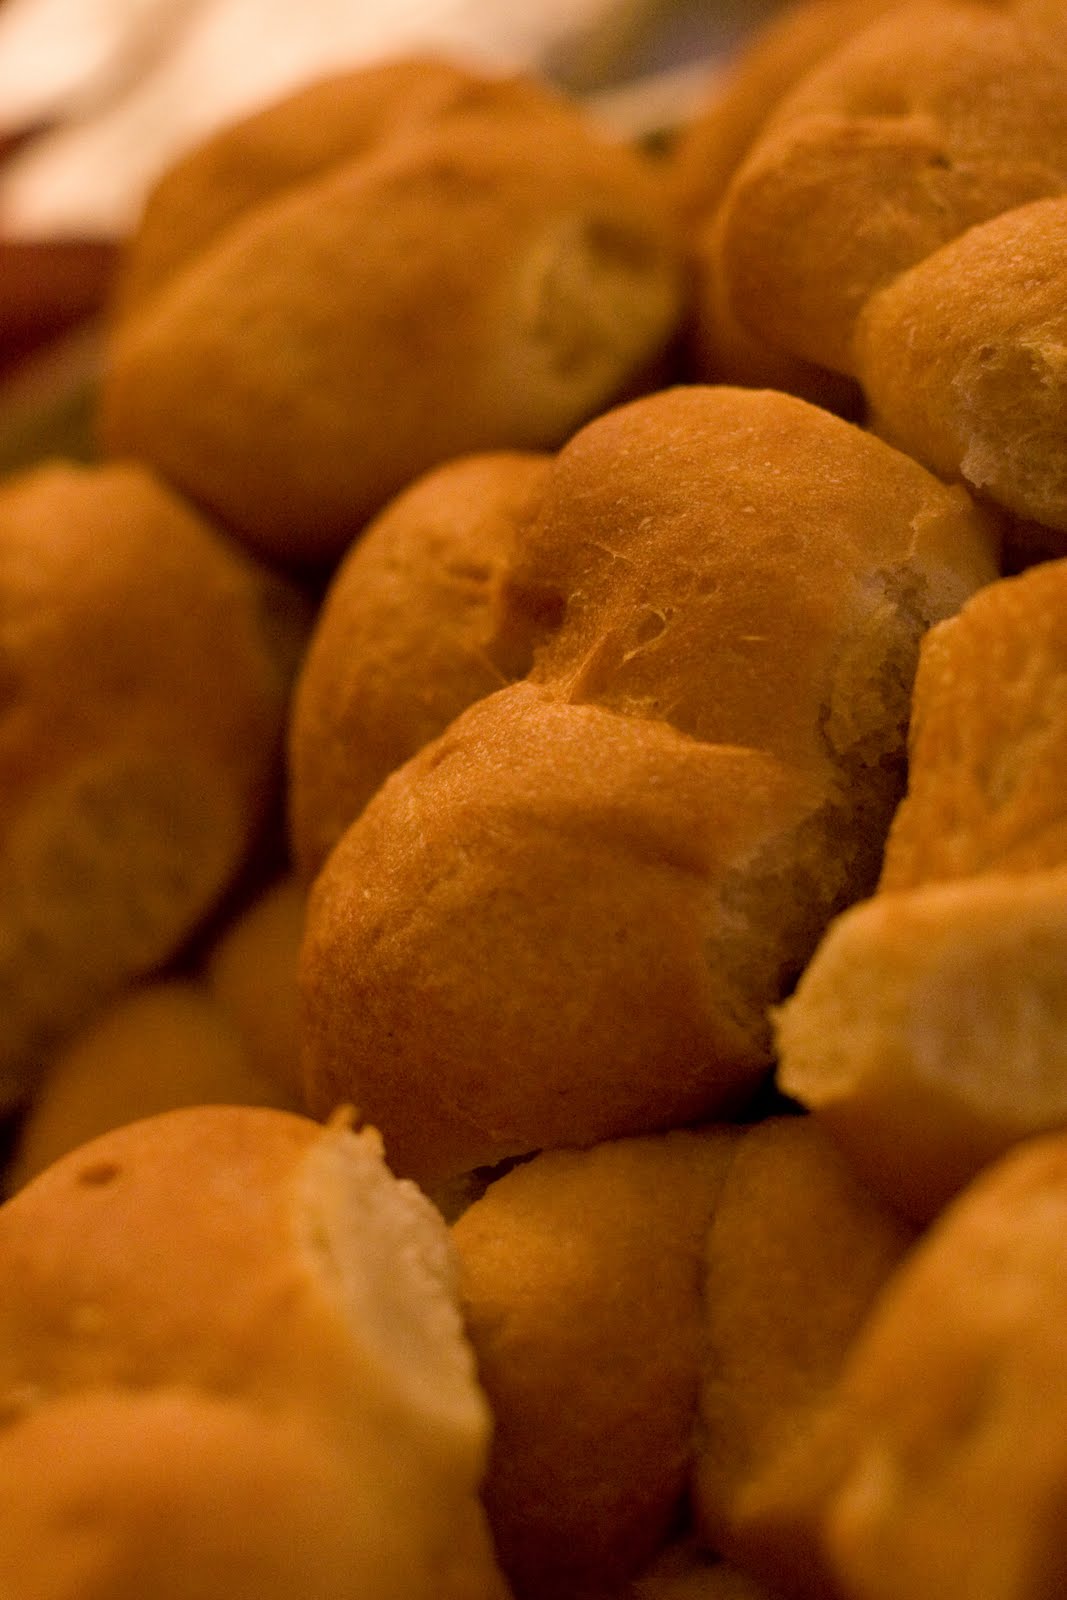
Move the little round body onto a well buttered cooking sheet. Only handle the little rolls by their belly-button where several fragrant air pockets have already been sacrificed. Try not to touch any other surface of the bulging baby. Set it down gently belly-button side down. Keep them warm, so they can continue rising and re-puff after the trauma of being shaped into rolls.
Grammie’s Buns
2 packages dry yeast (levure boulanger)
butter for pans
- 3 pm – Add 2 packages of dry yeast and 2 tbsp (càs) of sugar to 1/2 cup (12cl) of warm water in a 40 cup (10L) Stainless steel mixing bowl. Mix and set aside for ten minutes. (away from any drafts)
- 3:10 pm – Add 1 rounded cup (215 g) of sugar, 3 tsp (càc) salt, 1 cup (25cl) vegetable oil, 4 cups (1L) warm water, and 14 cups of flour – that’s a five pound bag minus 2 cups or simply 2 kilo bags. Take off your rings, knead with your hands. The dough will be very sticky. Scrape all of the bits of flour off of the sides of the bowl (I like my rubber scrapper spatula for this) and stick them all together in the ball of dough you are forming in the middle of the bowl. Now you are going to oil the bowl. Over the bowl, pour vegetable oil into the palm of your hand. Smear the oil all over the inside of the bowl around and under the ball of dough. Loosely drape a large sheet of plastic wrap over the edge of the bowl and snuggly hug the baby ball of dough, and back up over the other edge of the bowl. Cover the bowl with a towel to keep it warm. Stow it comfortably in a warm place, but where it won’t dry out. (I get the best results when my bowl is setting on top of the stovetop while I’m baking something else in the oven, so plan a big bake-ahead day and bake up a storm to keep the oven running and the room warm and moist.)
- 6 pm – Peek under the towel, the dough should have doubled in size. Lift the plastic wrap, roll up your sleeves and give the rising dough a big punch right in the middle. Watch it relax, the dough really takes on a personality at this point. Place the plastic wrap back over the bowl hugging the dough. Cover again with a towel, and continue to keep it cozy and warm.
- 9 pm – To form magic blossoming buns, slather 6 dozen muffin tins with a thick layer of butter. Uncover the big mountain of dough. Begin pinching off ping-pong ball sized puffs, and place three in each muffin tin, belly button side down. Reread the introduction for inspiration and reminder of how to pinch the dough. Cover each tray of muffin tins with a towel. Snuggle in a warm place overnight.
- 6 am – Bake your buns at 350°F for 15 – 20 minutes. Magic blossoming buns 176°C for 8 minutes in a convection oven. Loaves 176°C for 20 minutes in a convection oven.
- Tip the buns out onto a sheet of aluminum foil while they’re still warm. To reheat your buns, wrap 20 in a large sheet of aluminum foil, crimp the edges, place in a hot oven. Serve toasty and hot.
- Gently open a magic blossoming bun. the three petals should bloom open like a flower revealing it’s soft melt-in-your-mouth center. Serve with cold real butter.